How Can We Help You?
Alternatively, you can also browse on the topics below to find what you are looking for.

JaGaApp 2.0 Visitors Management
Overview
- Pre-Register Parcel & Food Delivery
- Pre-Register New Visitor
- Pre-Register New Visitor (Regular)
- Create Event
- Approve/Reject Event Guests
- Report Wrong Visitor
How to Pre-Register Parcel & Food Delivery?
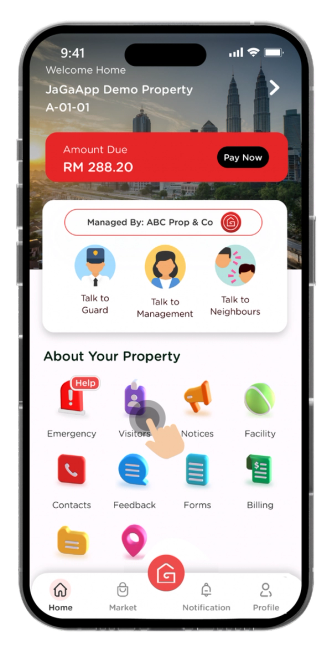
Click on "Visitors" icon to get started.

Select "Parcel Delivery" or "Food Delivery".

Enter your visitor's details. Click "Next" to confirm the visitor details.
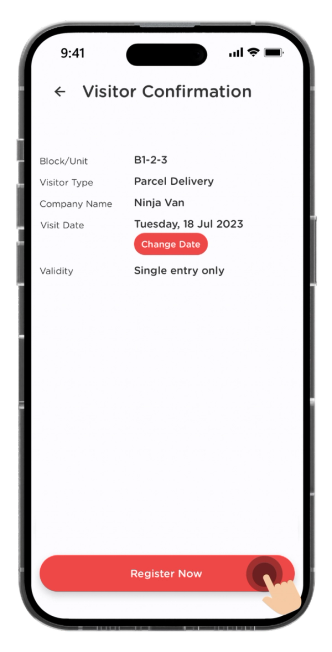
Click "Register Now" to proceed with the visitor registration.

Once registration is completed, click on "View Visitor Details" to view the details.
No QR Code will be generated. The flow may vary depending on the SOP by your Management.
How to Pre-Register New Visitor?
Click on "Visitors" icon to get started.
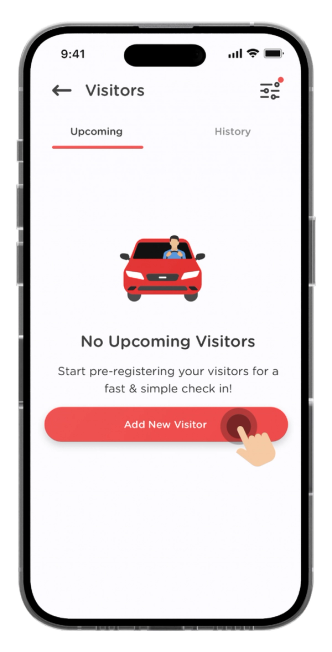
Click the "Add New Visitor" button to pre-register new visitor.

Choose a purpose of visit.

Enter your visitor's details. Click "Next" to confirm the visitor details.

Click "Register Now" to proceed with the visitor registration.

Click "Share QR Code" and share the visitor QR Code to your visitor.
Certain visitor types are subject to approval by your Management.

Click on the "Upcoming" Tab, you will see all your pre-register visitors' details.
How to Pre-Register New Visitor (Regular)?

Select the recurring frequency, either "Daily" or "Weekly".

Insert the visit end date and press "Next" to confirm the visitor details.

Click "Register Now" to proceed with the visitor registration.

Click "Share QR Code" and share the visitor QR Code to your visitor.
Certain visitor types are subject to approval by your Management.
Click on the "Upcoming" Tab, you will see all your pre-register visitors' details.
How to Create Event?
Click on "Visitors" icon to get started.
Click the "Add New Visitor" button.

Choose "Event" as the visit type.
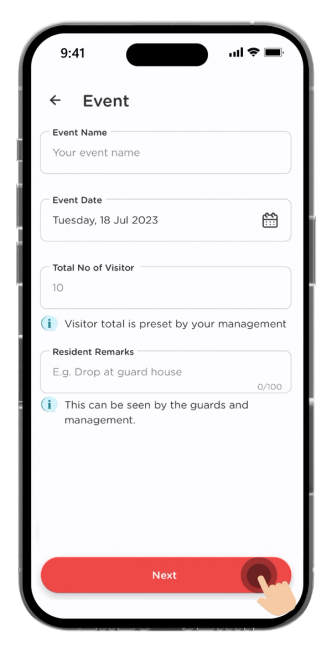
Enter your event's details. Click "Next" to proceed.
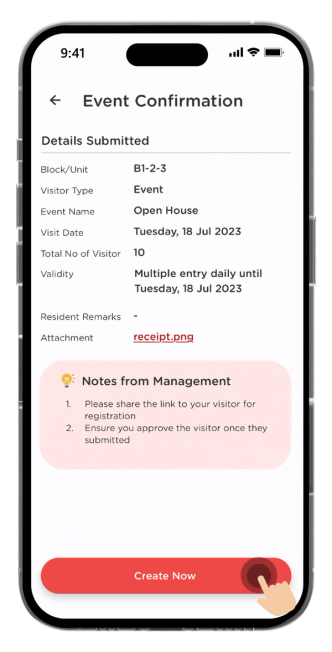
Confirm your event's details and click "Create Now".

Start inviting your guests by clicking on "Invite Now".

Invite your guests by sharing the unique form link for visitor registration.
How to Approve/Reject your Event's Guests?

You will receive a notification when your guest submits the form.

Click on the "Visitor Details Submission" to view the approval list.

To approve your guest on the list tap on "Accept".

Press "Ok" to confirm and a QR code will be generated automatically to your guest via email.
How to Report Wrong Visitor?

You will receive a notification when your guest has arrived. Click on "Report Wrong Visitor" if the visitor details is not correct.
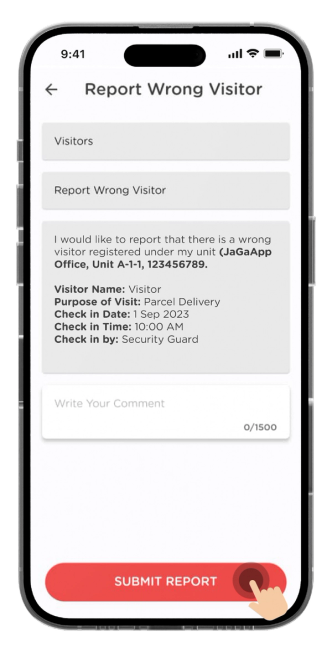
Click on "Submit Report" to send it to your Management.

Click on "Chat with Management Team".
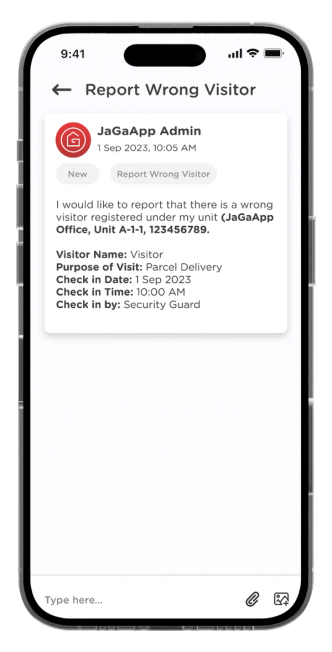
You can communicate directly with your Management on this issue.


